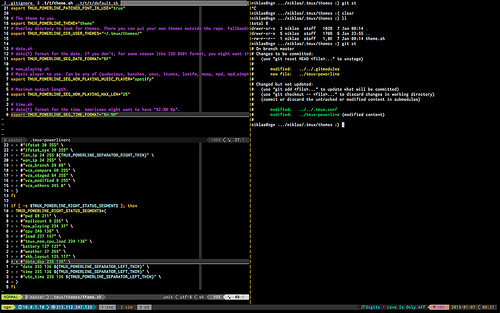
[caption id=“attachment_712” align=“alignleft” width=“500”] By: Niklas Gustavsson[/caption]
It’s been two lovely years with Vim and I’m sold! Vim’s the straight edge razor that slices through code. It’s like having a finely crafted and personalized lightsaber.
This post is aimed at getting a new Vim user up to speed without cutting off or wanting to sever their hands.
Getting Started
- Use GVim or MacVim (avoid Terminal Vim until more proficient, then generally avoid GUI Vims)
- Learn the Vim Modes
- Learn survival tactics ala Progressive Vim
- Learn to serenade this wild beast called Vim in its own language
- Add plugins
I’ll assume that readers of my blog can install GVim or MacVim on their own. On OSX it’s as simple as using homebrew. On Linux, use the awesome package manager of your choice.
Vim Modes
Vim is a modal editor. You have three essential modes of operating:
- Insert Mode (used for typing)
- Visual Mode (used for selecting)
- Command Mode (used for executing commands/movements)
Having three modes means that the keyboard can have 3x the number of functions because each key can have an alternate meaning in the various modes. For example, take the letter ‘i’:
- In command mode, i places the user in insert mode
- In insert mode, i types the letter i
- in visual mode, it appears not to do anything (I could be wrong, but 10 secs of testing back me up)
The first thing to learn is a lesson from Douglas Adams: “Don’t Panic!”.
When lost in Vim or things are going wrong, mash ESC until you’re back in Command Mode.
When a file gets messed up because you’re unfamiliar with Vim, type ESC followed by :q! This will quit the file without saving changes (forced quit). If the changes are important, enter command mode with ESC and type :wq to write the changes to disk.
When you’re ready to type into the text file, type i to enter insert mode. At this point, typing will proceed as normal until you hit escape to leave insert mode.
Pat yourself on the back
You’re now as accomplished as I was for my first year of dabbling with Vim!
I didn’t realize how little of Vim I knew until I saw the surgeon’s precision with which Gary Bernhardt wielded Vim. As soon as I saw this I wanted more.
I took his advice and started paying attention to the language of Vim, which largely consists of unmodified alphabet keys and shifted alphabet keys. Learning some of these has made my typing DRASTICALLY more efficient. I now feel very little resistance when typing. It’s as if my thoughts are able to leap onto the screen without obstacles. It’s magic folks! And you too can cast these spells with enough time and effort.
But mastering Vim (or at least becoming proficient) is a longer topic than I can cover in this post. So let’s move on to discuss plugins and the .vimrc.
Vimrc
Let’s get this out of the way: Vim’s not terribly friendly with the default configuration!
So what’s the solution? .vimrc and Vim plugins.
The .vimrc file goes in your home directory, ie ~/.vimrc, and dictates Vim’s configuration. You can tweak the colorscheme, the timeoutlen, and just about anything from here. Here’s an example of what’s in my own .vimrc:
Plugins are re-usable Vim code that has grown too large to be included in the Vimrc. Plugins extend the functionality of Vim and can make it act more like an IDE. There’s currently a vibrant community of Vim users and a growing number of Vim plugins.
Here’s a list of My Current Plugins repo:
And here are the ones that I use daily:
ack.vim
ctrlp.vim
delimitMate
gundo
slimux
supertab
sweet-rspec-vim
vim-bundler
vim-commentary
vim-detailed
vim-dispatch
vim-endwise
vim-eunuch
vim-fugitive
vim-git
vim-numbertoggle
vim-powerline
vim-rails
vim-repeat
vim-rspec
vim-ruby
vim-ruby-refactoring
vim-surround
Hope this helps get someone started in Vim. It’s a very rewarding and sometimes frustrating journey.
I’d love to help my readers learn Vim! Let me know about your stumbling blocks and difficulties in the comments or on Twitter @_ZPH